*this post may contain some affiliate links which means I may receive a commission if you chose to purchase from the links*
I remember the first time the light bulb went on in my head about using essential oils & herbs to help take care of some of my families ailments. Man, I was so excited brewing up my first batch of herbal medicine and then seeing how well it worked…. Well that just put the nail in the coffin that I needed to get all the herbs and essential oils!
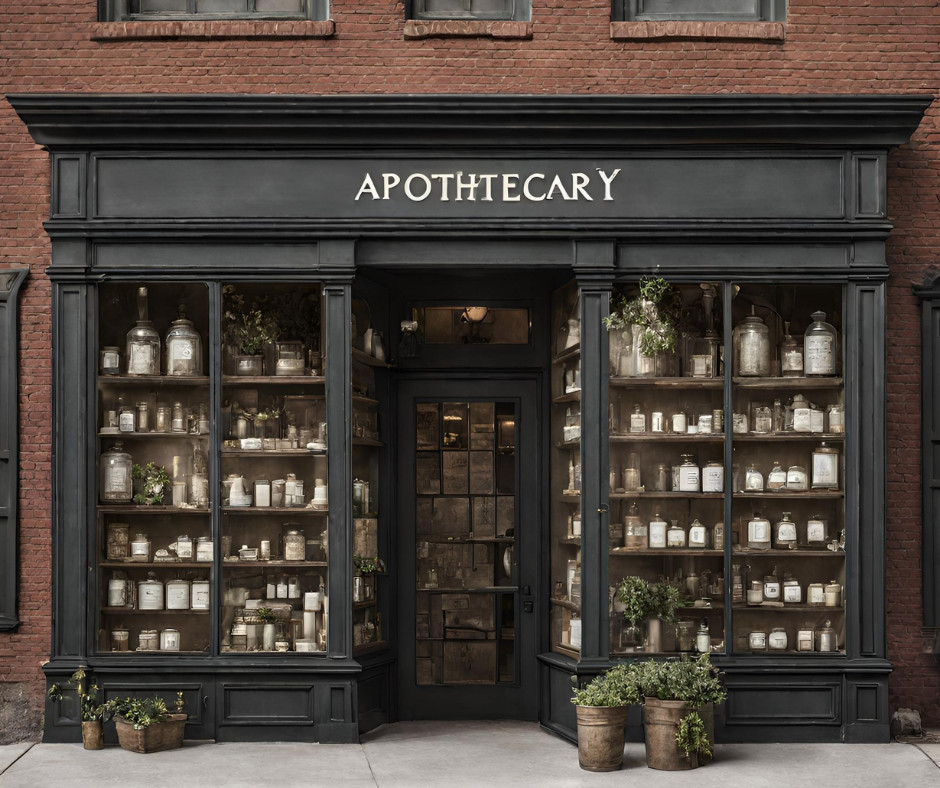
Starting your own apothecary for natural wellness may seem like, whoa, but it’s actually really, really fun if you’re into that kind of thing. Not only will you be able to customize your remedies to fit your family's needs, but you'll also gain a deeper understanding of natural healing. Let’s walk you through the steps on how to start your own apothecary for natural wellness.
Step One: Research
The first step is learning about herbs, essential oils and what they can do for you and your family. That way you’re not buying things willie nilly and you can immediately take action when you pick up your supplies. You'll also need to learn about what supplies you'll need to create your remedies, such as jars, bottles, droppers, and ingredients. Check out my Apothecary For Beginners course here to learn the basics on building your own apothecary.
Step Two: Create a Plan
First things first, what kinds of remedies are you wanting to create? Immunity support, insect bite salve or repellant, sleep aids, general wellness, salves for skin conditions…the list is dang near endless!
Next you need to decide on the size of your apothecary and where you'll store your supplies. The size of your storage will greatly determine how in depth you can get into remedies. Essential oils take up a MUCH smaller amount of storage space than the whole herb form but the whole herb has many more healing constituents than just the essential oil. Please don’t think that I believe one is better than another as both are amazing to keep stocked in your apothecary, just your storage size will determine how varied you can be.
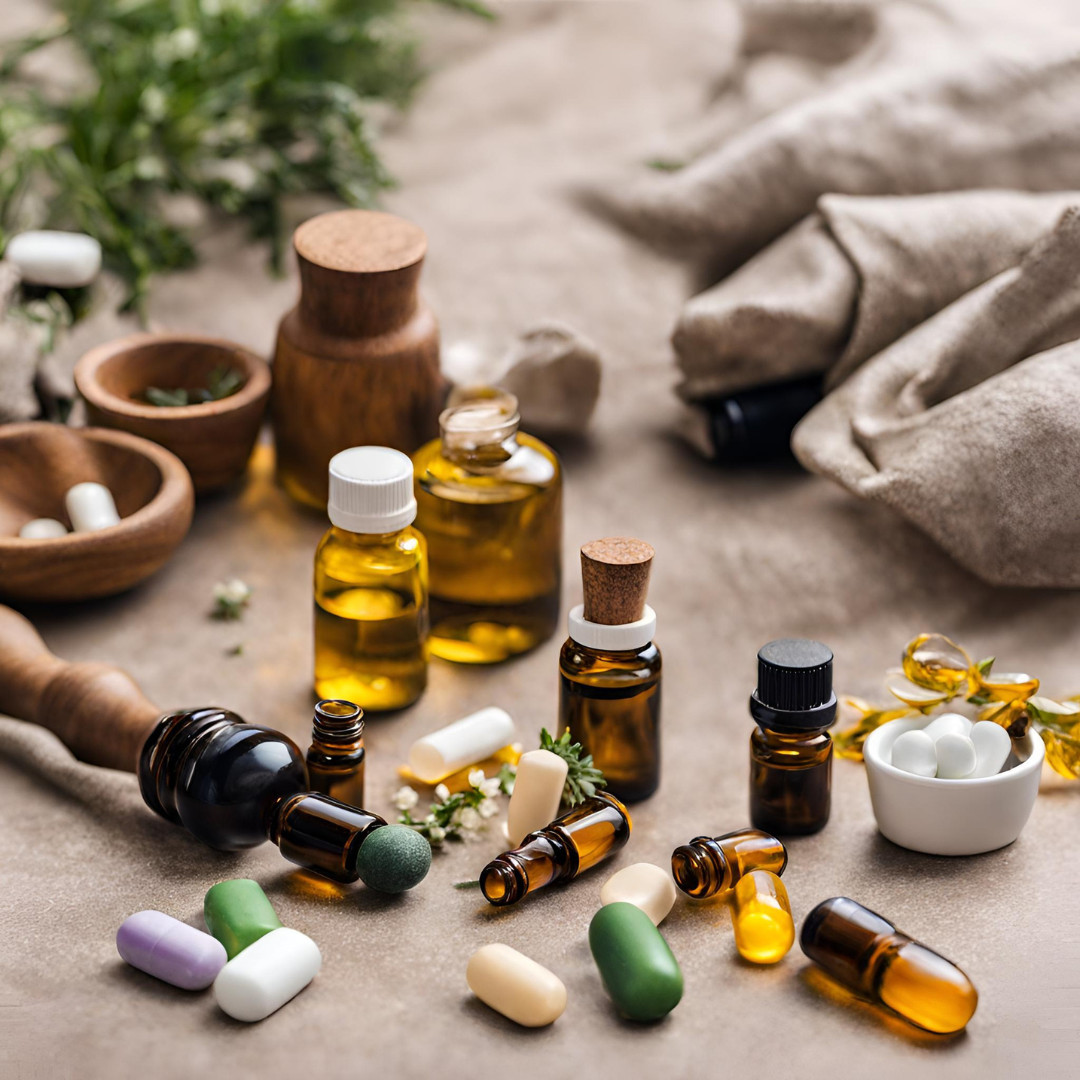
Step Three: Gather Your Supplies
Now that you’ve got your plan in place. next comes the fun part: shopping and building your apothecary! A word of wisdom: KNOW THE COMPANY YOU’RE PURCHASING FROM! Purity matters in everything from your herbs, to your essential oils, to the other ingredients that you craft your salves, balms and tinctures from. You also don’t want to scrimp on your jars, bottles and other items either. Nothing is worse than buying that cheap spray bottle only to have the nozzle quit working after two pumps or buy the cheap jars only to have them shatter when you pour in your salve.
Step Four: Start Creating
With your supplies gathered, it's time to start creating your remedies. Y’all this is SOOOO FUN! Knowing that you can rely on yourself to heal your families maladies *sigh* it’s the best! In your supply list you should make sure you grab a notebook or journal to keep track of your recipes. NEVER rely on your poor brain to remember. When you are just starting out, use recipes from trusted sources and keep track of every recipe tweak, what works, what doesn’t, the dates you created it, etc.
Step Five: Enjoy the Journey
I adore every second I spend crafting an herbal goodie and I hope you do too. Once you get the hang of some basic recipes start experimenting! Don’t just stick to the “rules”, bend them. That’s where some magical stuff lies! Learn as much as you can, share your journey with others and embrace the natural healing journey.
And that’s all it takes to create your own apothecary! Remember, it can sound daunting but focusing on just one remedy at first will help to keep the overwhelm at bay. Again, check out my Apothecary For Beginners course here to learn the basics on building your own apothecary and help you get your apothecary up and running!
xoxo,
Starting your own apothecary for natural wellness may seem like, whoa, but it’s actually really, really fun if you’re into that kind of thing. Not only will you be able to customize your remedies to fit your family's needs, but you'll also gain a deeper understanding of natural healing. Let’s walk you through the steps on how to start your own apothecary for natural wellness.
Step One: Research
The first step is learning about herbs, essential oils and what they can do for you and your family. That way you’re not buying things willie nilly and you can immediately take action when you pick up your supplies. You'll also need to learn about what supplies you'll need to create your remedies, such as jars, bottles, droppers, and ingredients. Check out my Apothecary For Beginners course here to learn the basics on building your own apothecary.
Step Two: Create a Plan
First things first, what kinds of remedies are you wanting to create? Immunity support, insect bite salve or repellant, sleep aids, general wellness, salves for skin conditions…the list is dang near endless!
Next you need to decide on the size of your apothecary and where you'll store your supplies. The size of your storage will greatly determine how in depth you can get into remedies. Essential oils take up a MUCH smaller amount of storage space than the whole herb form but the whole herb has many more healing constituents than just the essential oil. Please don’t think that I believe one is better than another as both are amazing to keep stocked in your apothecary, just your storage size will determine how varied you can be.
Step Three: Gather Your Supplies
Now that you’ve got your plan in place. next comes the fun part: shopping and building your apothecary! A word of wisdom: KNOW THE COMPANY YOU’RE PURCHASING FROM! Purity matters in everything from your herbs, to your essential oils, to the other ingredients that you craft your salves, balms and tinctures from. You also don’t want to scrimp on your jars, bottles and other items either. Nothing is worse than buying that cheap spray bottle only to have the nozzle quit working after two pumps or buy the cheap jars only to have them shatter when you pour in your salve.
Step Four: Start Creating
With your supplies gathered, it's time to start creating your remedies. Y’all this is SOOOO FUN! Knowing that you can rely on yourself to heal your families maladies *sigh* it’s the best! In your supply list you should make sure you grab a notebook or journal to keep track of your recipes. NEVER rely on your poor brain to remember. When you are just starting out, use recipes from trusted sources and keep track of every recipe tweak, what works, what doesn’t, the dates you created it, etc.
Step Five: Enjoy the Journey
I adore every second I spend crafting an herbal goodie and I hope you do too. Once you get the hang of some basic recipes start experimenting! Don’t just stick to the “rules”, bend them. That’s where some magical stuff lies! Learn as much as you can, share your journey with others and embrace the natural healing journey.
And that’s all it takes to create your own apothecary! Remember, it can sound daunting but focusing on just one remedy at first will help to keep the overwhelm at bay. Again, check out my Apothecary For Beginners course here to learn the basics on building your own apothecary and help you get your apothecary up and running!
xoxo,


0 Comments